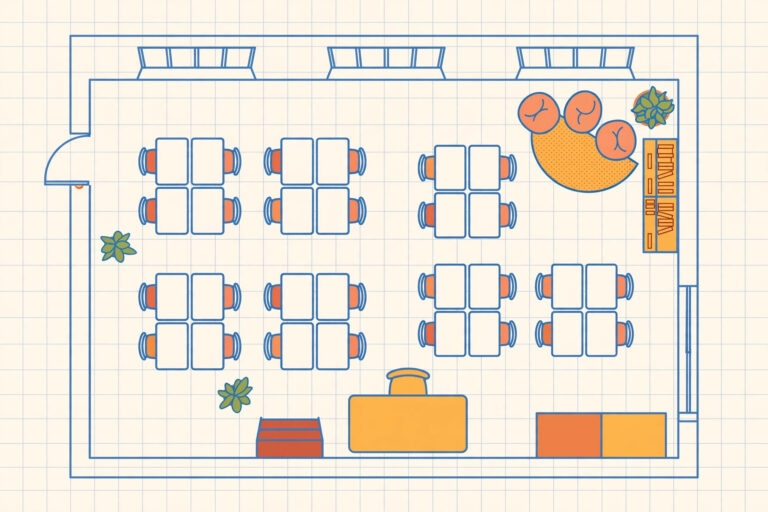
Walk into any classroom and the first thing you notice — before the posters, the whiteboard, or the teacher’s desk — is how the desks are arranged. That one decision shapes who talks to whom, how easily you can circulate, and whether your lesson flows or stalls. Choosing the right classroom seating arrangement is one of the highest-leverage moves a teacher can make: it affects focus, collaboration, and even behavior, often more than any single classroom management trick.
The good news? You don’t need new furniture or a bigger room. Below you’ll find 12 proven classroom seating arrangements, each with clear pros and cons, plus practical guidance on matching the layout to your lesson, your class size, and your students’ needs.
In this guide6 sections
Why Your Classroom Seating Arrangement Matters
The physical layout of your room is a silent teaching partner. Rows facing the board signal “listen and take notes,” while clusters signal “talk and build together” — students read these cues within seconds of sitting down. That is why the same lesson can feel completely different in two different layouts.
Research consistently shows that seating layout affects on-task behavior, peer interaction, and how easily you can reach individual students. Teachers experimenting with a versatile seating arrangement report fewer management issues, largely because students can see one another while the teacher circulates freely. When learners face each other, discussion deepens; when they face the board, focus sharpens. Neither is universally better — the trick is matching the layout to the learning goal.
Changing your layout also signals a change in expectations: flip from rows to a circle and students instantly know this lesson is about discussion, not lecture.
12 Classroom Seating Arrangements
Here are twelve field-tested classroom seating arrangement ideas, each with the activities and grades it suits best, plus one honest pro and con. For visual planning, pair this list with our classroom layout ideas to sketch each setup for your own room.
1. Traditional Rows
Desks lined up in straight rows, all facing the front of the room. This classic setup is the go-to for direct instruction, independent work, and tests. Best for: exams, note-taking, and large classes. Pro: minimizes distractions and gives every student a clear view of the board. Con: it discourages collaboration and makes group discussion awkward.
2. Pairs
Two desks pushed together so students sit side by side or face each other. Pairs are perfect for think-pair-share routines, peer tutoring, and partner reading. Best for: quick collaboration without the noise of full groups. Pro: every student gets a built-in partner. Con: pairs can drift into off-task chatting if not monitored.
3. Clusters / Groups of Four
Four desks grouped into a square so students face one another. A staple classroom seating arrangement for project-based learning and cooperative tasks. Best for: group projects and hands-on activities. Pro: maximizes peer interaction and makes sharing materials easy. Con: some students sit with their backs to the board during direct instruction.
4. U-Shape
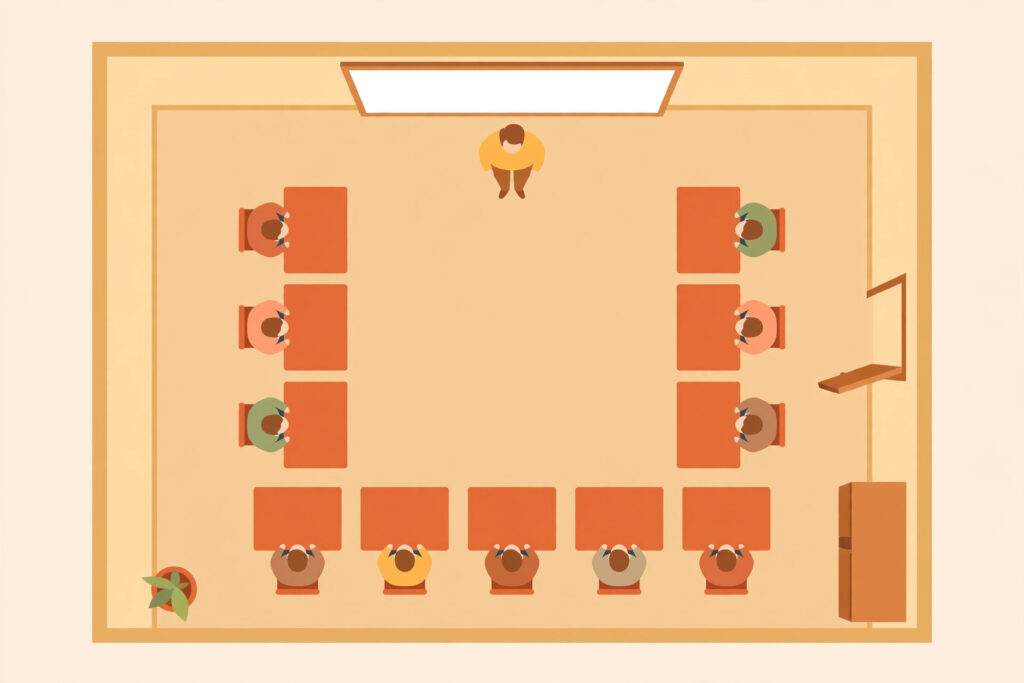
Desks arranged in a single large U, with everyone facing inward. The U-shape shines for discussions and seminars because everyone can see every face. Best for: discussions with 15–25 students. Pro: unmatched eye contact and a strong sense of community. Con: it eats floor space and doesn’t scale to large classes.
5. Double U
Two concentric U-shapes, one nested inside the other. This brings discussion-style seating to bigger classes that can’t fit a single U. Best for: 25–35 students doing discussions or presentations. Pro: keeps the inclusive feel of the U-shape for larger groups. Con: students in the outer ring can feel disconnected from the action.
6. Circle
Chairs in a full circle with desks pushed aside. The circle is ideal for morning meetings and restorative practices. Best for: community building and sensitive discussions. Pro: total equality — no front row, no back row. Con: no writing surface, so it’s poor for note-taking or written work.
7. Stadium / Arena
Rows curved into gentle arcs, like a small amphitheater facing the front. This layout is built for presentations, demonstrations, and guest speakers. Best for: demos, read-alouds, and performances. Pro: excellent sightlines for every seat in the room. Con: students face the front, so peer discussion is difficult.
8. Runway
Two long facing rows with a wide center aisle — like a fashion runway. Made for debates, role-plays, and fishbowl activities. Best for: debates and student presentations. Pro: dramatic and energizing; the audience feels part of the show. Con: half the class faces away from the board, limiting direct instruction.
9. Learning Stations
The room is divided into zones, each set up for a different task, and students rotate through them. Stations are ideal for differentiated instruction. Best for: rotations, centers, and mixed-ability practice. Pro: built-in variety and movement keep energy high. Con: setup takes time and transitions can get noisy.
10. Flexible / Modular
A mix of standing desks, wobble stools, floor cushions, and traditional desks that students choose from. Flexible seating gives learners autonomy over how they work best. Best for: student choice and varied daily tasks. Pro: boosts comfort, ownership, and engagement. Con: it demands clear expectations and upfront investment in varied furniture.
11. Debate Format
The class splits into two facing sides, like a courtroom. Purpose-built for debates and mock trials. Best for: argumentative units and current-events discussions. Pro: the format itself generates energy and engagement. Con: it can get heated — strong facilitation and ground rules are essential.
12. Lab / Workshop
Long shared tables in parallel rows, stocked with communal materials. The workshop layout suits science experiments and art projects. Best for: hands-on subjects needing shared tools. Pro: materials are easy to share and supervise. Con: side-by-side seating limits eye contact and discussion.
How to Choose the Right Classroom Seating Arrangement
Start with the learning goal, not the furniture: what will students mostly do this week — listen, discuss, build, or rotate? Then check your constraints: class size, room size, and students with mobility or sensory needs.
A practical rule of thumb: use rows or stadium for input-heavy lessons (lectures, tests), clusters or stations for output-heavy lessons (projects, labs), and U-shapes or circles for discussion-heavy lessons. Many teachers keep two “default” layouts and switch between them weekly.
Before moving a single desk, sketch a classroom floor plan on paper — measure twice, drag desks once. And remember: the best classroom seating arrangement is the one you can actually change. Build in a 10-minute reset routine so flipping layouts never eats into learning time.
Tips for Rearranging Without Chaos
These teacher-tested tricks keep transitions fast and calm:
- Assign moving roles. Two “lifters,” two “guides,” and one “checker” who verifies the final layout against your plan.
- Practice the switch like a fire drill. Time the first attempt, then challenge the class to beat their record.
- Use a classroom timer. Project a visible countdown — when it hits zero, everyone should be seated and ready.
- Photograph each layout. Tape the photo to the wall so students can rebuild any arrangement without step-by-step instructions.
- Rotate seats every 3–6 weeks. Fresh neighbors refresh social dynamics and prevent territory wars.
Frequently Asked Questions
What is the best classroom seating arrangement?
There is no single best option — the best classroom seating arrangement is the one that matches your lesson goal. Use rows for tests and direct instruction, clusters for group work, and U-shapes or circles for discussion. Most experienced teachers rotate between two or three layouts rather than sticking to one all year.
How often should I change my classroom seating arrangement?
Every three to six weeks is a good rhythm, or with each new unit. Regular changes keep social dynamics fresh and let you match the layout to what you’re teaching. Just build a quick reset routine so transitions stay under five minutes.
What seating arrangement works best for a talkative class?
Traditional rows or a stadium layout reduce face-to-face temptation and work well for chatty groups. Strategic seat assignments — separating frequent talkers and placing easily distracted students near the front — matter as much as the layout itself.
How should I arrange desks for group work?
Clusters of four are the sweet spot: large enough for diverse ideas, small enough that no one hides. Mix ability levels in each group, and angle two chairs toward the board for mini-lessons.
Should students choose their own seats?
Occasional choice builds buy-in — many teachers let students pick seats on Fridays or as an earned privilege. For focus-heavy tasks, though, teacher-assigned seating consistently produces better on-task behavior. A blend of both keeps everyone happy.
Conclusion
Your classroom seating arrangement is one of the few teaching tools you can change for free, in minutes, with immediate results. Start with one new layout this week — try clusters for a group task or a U-shape for your next discussion — and watch how the room’s energy shifts. Bookmark this guide and revisit it each term. Small furniture moves, big learning gains.