The free PhET Density simulation from the University of Colorado Boulder is one of the cleanest ways to teach that density is a property of a material, not of an object’s size. This PhET density lab walks students from measuring mass and volume to calculating density, identifying mystery blocks and explaining why some objects float.
It works for grades 6–10, takes one 45–55 minute period, and needs only a browser. If you are building a unit around simulations, our classroom simulations hub lists every PhET lab guide on the site.
In this guide11 sections
Learning goals
- Measure mass with a scale and volume by water displacement.
- Calculate density using density = mass ÷ volume with correct units (kg/L or g/cm³).
- Explain why objects of the same mass can have different volumes.
- Use density to identify an unknown material and predict whether it floats in water.
Before you start
Open the Density simulation on the PhET website (search “PhET Density”) and test it on student devices. The simulation has separate screens: an introductory screen with adjustable blocks, a comparison screen with sets of blocks that share the same mass, volume or density, and a mystery screen with unknown blocks. Screen names can change between versions, so preview it before class.
Remind students of one fact they need: water has a density of about 1 kg/L (1 g/cm³).
Part 1: Measure mass and volume
- On the introductory screen, choose one block. Read its mass on the scale.
- Note the water level in the pool. Drop the block in (push it under if it floats) and read the new level.
- Volume of the block = new water level − original water level.
- Repeat for at least three materials and record results.
Part 2: Calculate density
Students divide mass by volume for each block and compare with the material’s known density. Ask them to change the block’s size if the simulation allows it: mass and volume both change, but density stays the same. This is the key idea of the whole lab.
Sample data table
| Block | Mass (kg) | Water before (L) | Water after (L) | Volume (L) | Density (kg/L) | Floats? |
|---|---|---|---|---|---|---|
| Block A | ||||||
| Block B | ||||||
| Block C | ||||||
| Mystery block |
Students fill in their own measurements; values differ depending on which blocks they pick, so this table doubles as a fair assessment.
Part 3: Same mass, same volume, same density
On the comparison screen, have students look at a set of blocks with the same mass. Which takes up the most space? Then switch to blocks with the same volume and ask which is heaviest. Finally, look at blocks with the same density: do they all float or all sink? Students should write one claim for each set, backed by measurements.
Part 4: Mystery block challenge
- Pick a mystery block and measure its mass and volume.
- Calculate density.
- Use the simulation’s density table to identify the material.
- Predict whether it floats, then test.
Make it a race between pairs for engagement, much like the challenges in our PhET pH Scale lab.
Discussion and analysis questions
- Why does cutting a block in half not change its density?
- A block has a mass of 5 kg and a volume of 2 L. Will it float in water? Show your work. (Density = 2.5 kg/L, so it sinks.)
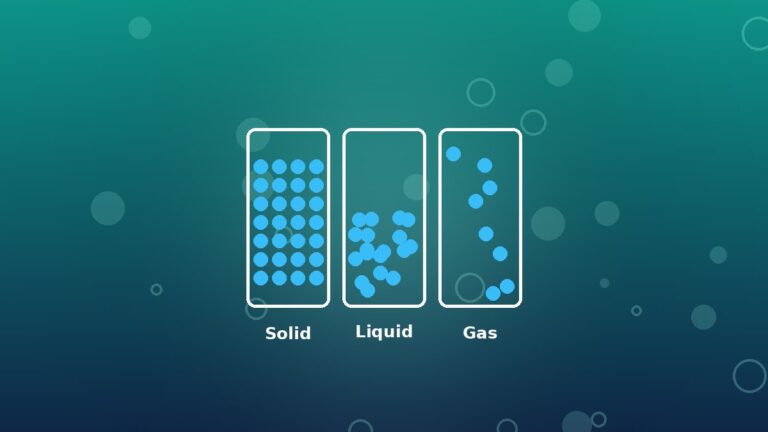
- Why does ice float on liquid water? Connect your answer to particle spacing (see our States of Matter simulation lab).
- How could a ship made of steel float even though steel is denser than water?
Differentiation tips
- Support: give a partly completed table and a calculation frame.
- Extension: students graph mass vs. volume for blocks of one material; the slope of the line is the density.
- Exit ticket: “Explain density to a sixth grader in two sentences.” More options in our exit ticket ideas.
Frequently asked questions
Is the PhET Density simulation free?
Yes. PhET simulations are free to use in the browser on computers, Chromebooks and tablets.
What grade level is this density lab for?
It suits grades 6–10. Younger students focus on measuring and comparing; older students add graphing and the floating-ship question.
How do you find volume in the PhET Density lab?
Use water displacement: subtract the starting water level from the level after the block is fully submerged.
What lab should come next?
Try the PhET Gas Properties lab to extend particle thinking to pressure and temperature.
Wrap-up
By the end of this lab, students should be able to say clearly that density depends on the material, calculate it from data, and use it to predict floating and sinking. Save completed tables as evidence for later physical science units.