Every classroom is already a vocabulary lesson. The desks, the pencils, the bookshelf, the whiteboard — students see these objects and hear their names in instructions every day. For ESL learners and elementary students, knowing classroom object names is one of the first steps toward following directions, joining activities, and feeling at home in the room.
This guide gives you 100+ classroom objects organized by category, with kid-friendly explanations, plus the teaching routines that make the words stick: labeling, real objects, games, and repetition built into things you do.
In this guide6 sections
Why Classroom Object Vocabulary Matters So Much
Object names are the working vocabulary of school life. A student who knows “scissors,” “glue stick,” and “notebook” can follow a craft instruction, set up for a lesson, and ask a classmate for help. A student who does not know those words falls behind on the task itself, even when they understand the idea behind it.
Object words are also unusually teachable. They are concrete, visible, and touchable. You can hold up a ruler, point to the clock, or open a backpack and the meaning is instantly clear — no translation needed. That makes classroom objects the ideal first vocabulary set for new English learners and a perfect review set for elementary students building academic language.
How to Teach Classroom Object Names So They Stick
1. Label everything — then use the labels
Put a word card on the object itself: “door,” “whiteboard,” “bookshelf,” “pencil sharpener.” Labels turn the whole room into a reading environment, and they give students a place to check spelling without asking. The labels only work if you refer to them, though. Point to the label when you say the word, and send students to “check the label” instead of answering every spelling question yourself. If you are setting up routines for the first time, our classroom norms guide pairs well with a labeling system, since it helps students learn where things belong and what each area is called.
2. Teach with real objects, not just pictures
Hold the real stapler. Let students pass around the globe. Real objects — teachers call them “realia” — beat flashcards because students can touch, weigh, and use them. When you introduce new words, put the objects on a table, name each one slowly, and have students pick up the matching object when they hear its name.
3. Build the words into daily routines
Routines are free repetition. “Take out your notebook.” “Put your crayons in the supply bin.” “Line up by the door.” Every routine is a vocabulary review. In the first weeks, slow these moments down on purpose: name the objects as you use them, and let students finish the sentence. “We need the…?” works better than another worksheet.
4. Move, sort, and play
Students remember words they have moved with. Sorting games (things you write with vs. things you cut with), total-physical-response commands (“Touch the clock! Point to the rug!”), and quick team games turn a word list into something students can do. Our free classroom games hub is full of memory and word games you can adapt with your object words as the game content.
5. Review in short bursts, often
Five minutes of review three times a week beats one long vocabulary lesson. A quick “mystery object” at the start of class, a two-minute labeling race on Friday, or a word wall quiz during transitions keeps the words alive all term.
100+ Classroom Objects, Organized by Category
Use this list as a word bank, a labeling checklist, or a word wall. The short explanations are written to read aloud to young learners.
Desks, Chairs, and Seating
- Desk — the table where a student works.
- Chair — what you sit on at your desk.
- Teacher’s desk — the teacher’s larger work table, usually at the front.
- Table — a bigger shared work surface for groups.
- Stool — a small seat with no back, often at a high table.
- Beanbag — a soft, squishy seat for the reading corner.
- Rug / carpet — the soft floor covering where the class gathers.
- Cushion — a soft pad for sitting on the floor.
- Standing desk — a tall desk you use while standing.
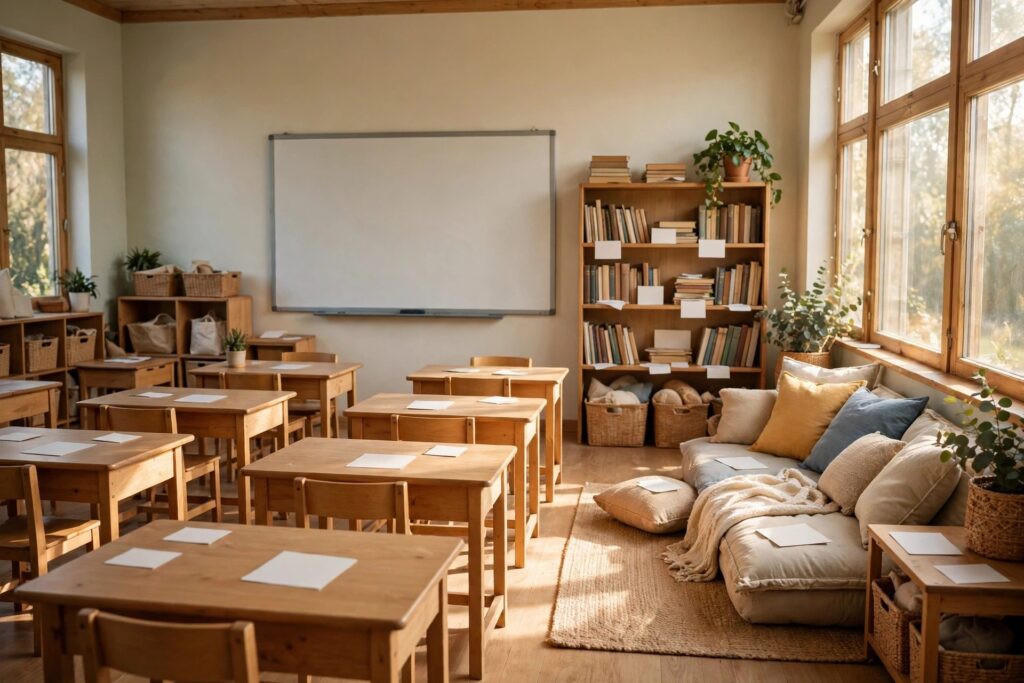
- Reading corner — the cozy area with books and soft seats.
Seating is also a teaching decision, not just furniture. If you want ideas for arranging these pieces, see our classroom seating arrangements guide, which covers pods, rows, horseshoes, and more.
The Teacher’s Tools
- Whiteboard — the big smooth board you write on with markers.
- Chalkboard / blackboard — the classic dark board you write on with chalk.
- Marker — a pen for the whiteboard.
- Chalk — a white stick for the chalkboard.
- Eraser — what you use to wipe the board clean.
- Projector — a machine that shows pictures or slides on a screen.
- Screen — the white surface the projector shines onto.
- Pointer / stick — a long stick for pointing at the board.
- Clock — it tells the time; hang it where everyone can see it.
- Calendar — it shows the days, weeks, and months.
Writing and Drawing Tools
- Pencil — for writing and drawing; you can erase it.
- Pen — for writing in ink; you cannot erase it.
- Crayon — a waxy stick for coloring.
- Colored pencil — a pencil that draws in color.
- Highlighter — a bright marker for marking important words.
- Eraser (pencil eraser) — the small rubber that removes pencil marks.
- Pencil sharpener — it makes a dull pencil pointy again.
- Ruler — a straight edge for measuring and drawing lines.
- Scissors — for cutting paper (always plural: “a pair of scissors”).
- Glue stick — solid glue in a twist-up tube.
- Liquid glue — glue that comes out as a liquid.
- Tape — sticky strip for fixing paper together.
Paper, Books, and Notebooks
- Notebook — a book of blank pages for writing.
- Workbook — a book with exercises to complete.
- Textbook — the main book for a subject.
- Storybook / picture book — a book with a story, often with pictures.
- Dictionary — a book that explains word meanings.
- Worksheet — a printed page with tasks to do.
- Construction paper — thick, colored paper for crafts.
- Notebook paper / lined paper — paper with lines for writing.
- Folder — a folded cover that holds loose papers.
- Binder — a cover with rings that holds many pages.
Art Supplies
- Paint — colored liquid for art.
- Paintbrush — a brush for painting.
- Watercolor set — paints you mix with water.
- Colored paper — paper in many colors for crafts.
- Stickers — small pictures that stick to paper.
- Play dough / modeling clay — soft material for shaping.
- Smock / apron — a cover you wear to protect clothes during art.
- Art easel — a stand that holds paper for painting.
- Yarn / string — thick thread for crafts and displays.
- Beads — small pieces for threading and counting.
Math and Science Tools
- Calculator — a small machine for adding and subtracting.
- Counting blocks — small blocks for learning numbers.
- Number line — a line of numbers on the wall or desk.
- Abacus — a frame with beads for counting.
- Protractor — a tool for measuring angles.
- Compass (math) — a tool for drawing circles.
- Magnifying glass — a lens that makes small things look bigger.
- Globe — a round model of the Earth.
- Map — a flat picture of a place or the world.
- Thermometer — it measures temperature.
- Scale / balance — it weighs objects.
- Timer — it counts down minutes for an activity.
Technology in the Classroom
- Computer / laptop — for research, writing, and learning games.
- Tablet — a flat touch-screen computer.
- Keyboard — the keys you type on.
- Mouse — you move it to control the computer pointer.
- Headphones — you wear them to listen without disturbing others.
- Speaker — it plays sound out loud for the class.
- Charger / charging cable — it powers devices back up.
- Interactive board — a big touch-screen board at the front.
- Document camera — it shows a book or object on the screen.
- Printer — it prints worksheets and pictures.
Storage and Organization
- Backpack / school bag — the bag students carry books in.
- Pencil case / pencil box — a small case for pencils and pens.
- Bookshelf / bookcase — shelves that hold books.
- Cubby — a small open box where each student keeps things.
- Supply bin — a container for shared supplies.
- Turn-in tray / basket — where finished work goes.
- Bulletin board — a board for pinning displays and notices.
- Poster — a large printed picture or chart on the wall.
- Word wall — a display of words students are learning.
- Lost and found box — where unclaimed items wait for owners.
Around the Room
- Door — you walk through it to enter and leave.
- Window — glass that lets light in.
- Light switch — it turns the classroom lights on and off.
- Trash can / bin — where rubbish goes.
- Recycling bin — for paper and other recyclables.
- Sink — for washing hands and art supplies.
- Coat hook / coat rack — where coats and bags hang.
- Flag — many classrooms display a country flag.
- Plant — a living plant that students can help care for.
- First aid kit — a box with bandages for small injuries.
That is 111 names across ten categories. You do not need to teach all of them at once. Start with the 15–20 words your students meet every day — desk, chair, pencil, book, door, clock — and add a new category each week.
5 Classroom Activities That Use This List
1. Label Race
Put the class into teams. Call out an object word, and the first team to touch the labeled object (or stick the word card on it) wins a point. It doubles as a labeling check: any label nobody can find is a word to reteach.
2. Mystery Bag
Put five classroom objects in a bag. A student reaches in, feels one object without looking, and describes it: “It is long. You write with it. It has an eraser.” The class guesses the word. Mystery Bag builds describing language on top of object names.
3. I Spy, Classroom Edition
“I spy something you write with that starts with P.” Students scan the room, check the labels, and answer. Start with color and use clues (“something red”), then move to function clues (“something you cut with”) as the class gets stronger.
4. Sorting Challenge
Give pairs a mixed pile of word cards and ask them to sort into groups: things you write with, things you read, things that need electricity, things in the art area. The discussion about where a word belongs is where the learning happens: a globe could belong to “around the room” or “math and science” — let students defend their choice.
5. Build a Living Word Wall
Start the word wall with the objects students already know, then add a few words each week as you teach new categories. Add a small drawing next to each word, and let students add words they discover themselves. A word wall students helped build gets used; a poster the teacher made alone gets ignored. For a quiet moment after a busy vocabulary game, see our classroom yoga brain breaks for short, desk-side reset routines that pair well with this kind of active lesson.
Setting Up Your Room So the Words Keep Working
Three setup choices make object vocabulary stick all year. First, keep labels at student eye level and in the same spot all term — moving labels resets everyone’s memory. Second, group labels by the categories in this guide, and color-code the cards by category so students can find a word family at a glance. Third, make the word wall part of a routine, not a decoration: point to it during instructions, add to it in front of the class, and quiz from it for two minutes during transitions. A reading corner, a materials zone, and a clear instruction area give every object a home — see our seating arrangements guide and complete guide to classroom management for the layout and routines behind a vocabulary-rich room.
Frequently Asked Questions About Classroom Objects
How many classroom object words should ESL beginners learn first?
Start with 15–20 everyday words: desk, chair, pencil, pen, book, notebook, door, window, clock, board, bag, paper, scissors, glue, and crayon. Once students can hear, say, and find those, add one new category per week.
Should I teach the words in English only, or translate them?
For concrete objects, English-only usually works: hold up the object, say the word, and let the meaning land on its own. Translation helps when a word has a tricky twin (like “ruler” the tool vs. “ruler” a king), or when a student is stuck — a quick translation there is a bridge, not a failure.
What is the best age to start classroom object vocabulary?
As soon as students are in a classroom. Preschoolers learn “chair,” “book,” and “crayon” through play; elementary students add the tools for each subject; ESL learners of any age benefit because the objects are right in front of them.
How do I keep older students interested in object words?
Raise the task, not the word list. Older students can sort objects by function, debate categories, write instructions that use ten object words, or design their ideal classroom and label it. The words stay the same; the thinking gets harder.
Your classroom is full of vocabulary already. Label it, use the words in every routine, play with them for five minutes a day, and watch a room full of objects turn into a room full of language. Start with the objects on your students’ desks today — that is where the words live.